Enterprise hosting · Built for gamers
Install Pterodactyl – Panel & Wings Step by Step
Quick answer: Install Pterodactyl fastest with the community installer on Ubuntu: bash <(curl -s https://pterodactyl-installer.se), option 2 (Panel + Wings). Then set up node, allocations and Wings token.
This guide shows you step by step how to install the Pterodactyl Panel and Wings on your server. Pterodactyl is a free, open-source game server management panel based on Docker containers. At the end you'll have a fully functional environment where you can create and manage game servers with just a few clicks.
Note: Detailed subpages on configuration, troubleshooting and optimization can be found in the left navigation.
Requirements
- Operating system: Ubuntu 20.04, 22.04 or 24.04 (recommended)
- CPU: At least 2 cores
- RAM: At least 4 GB (8 GB recommended for multiple servers)
- Storage: 20 GB free SSD storage
- Root access: SSH access with root privileges
- Docker-capable: KVM virtualization (not OpenVZ or LXC)
- Domain: A domain or subdomain for panel access (optional, but recommended)
Step 1: Basic server preparation
Connect to your server via SSH:
ssh root@your-server-ipUpdate the system:
apt update && apt upgrade -yStep 2: Install Pterodactyl Panel
Pterodactyl provides an official installation script that automates the entire process. Run the following command:
bash <(curl -s https://pterodactyl-installer.se)The script starts and walks you through the installation. Select Option 2 – "Install Panel and Wings" to install both at the same time.
Step 3: Answer installation questions
During installation you'll be asked for various settings. Here's an overview with recommendations:
| Setting | Recommendation |
|---|---|
| Database name | Press Enter (default: panel) |
| Database username | Press Enter (default: pterodactyl) |
| Database password | Set a secure password and save it |
| Timezone | e.g. Europe/Berlin or America/New_York |
| Email for Let's Encrypt | Your real email address |
| Admin email | Your email for panel login |
| Admin username | e.g. admin |
| Admin password | Secure password – you'll use this to log in |
| FQDN (Domain) | Your domain or server IP |
| Configure firewall | Yes (y) |
| Let's Encrypt SSL | Yes – only with domain, not with IP address |
Step 4: Complete installation
The script now automatically installs:
- Nginx as web server
- PHP 8.1 with all required extensions
- MariaDB as database
- Redis for temporary data storage
- Composer for PHP dependencies
- The Pterodactyl Panel itself
- Docker for container management
- Wings as daemon for game servers
The installation takes about 10-15 minutes. At the end you'll receive a summary with all access credentials.
Step 5: Open the panel in your browser
Go to your domain or server IP in the browser. You should see the Pterodactyl login page:
https://your-domain.com # or http://your-server-ipLog in with the admin credentials you set during installation.
Step 6: Create a node – connect Wings
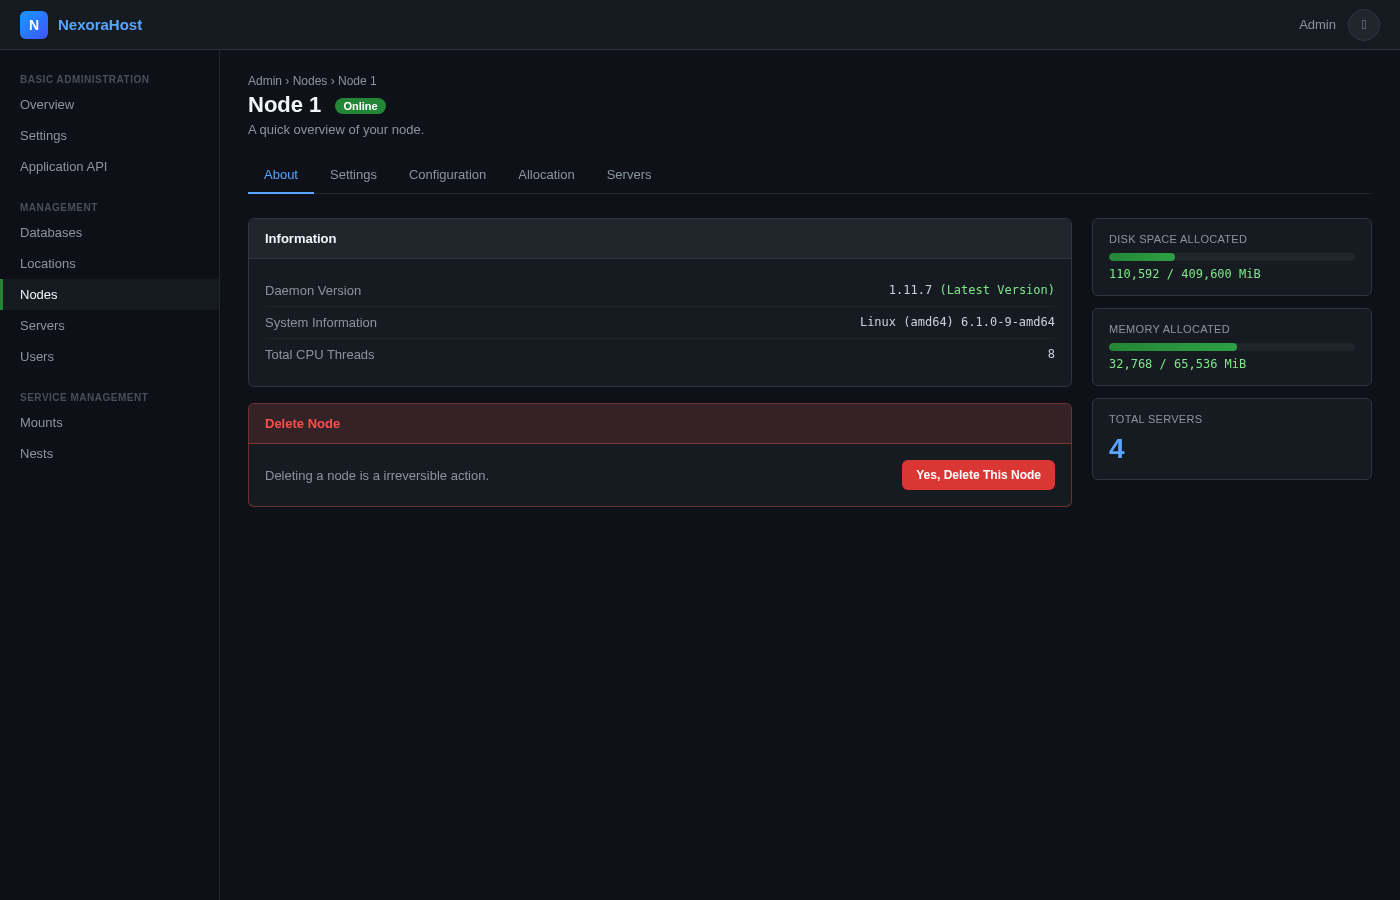
To host game servers, you need to create a node and connect it with Wings:
- Click "Locations" in the admin area on the left
- Create a new location (e.g. "Germany") via "Create New"
- Click "Nodes" on the left
- Click "Create New"
- Fill in the fields:
- Name: e.g. "Node-1"
- Location: Select your created location
- FQDN: Your panel domain or server IP
- Total Memory: Your total RAM in MiB (e.g. 16384 for 16 GB)
- Total Disk Space: Your total storage in MiB (e.g. 102400 for 100 GB)
- Click "Create Node"
Step 7: Set up node allocations
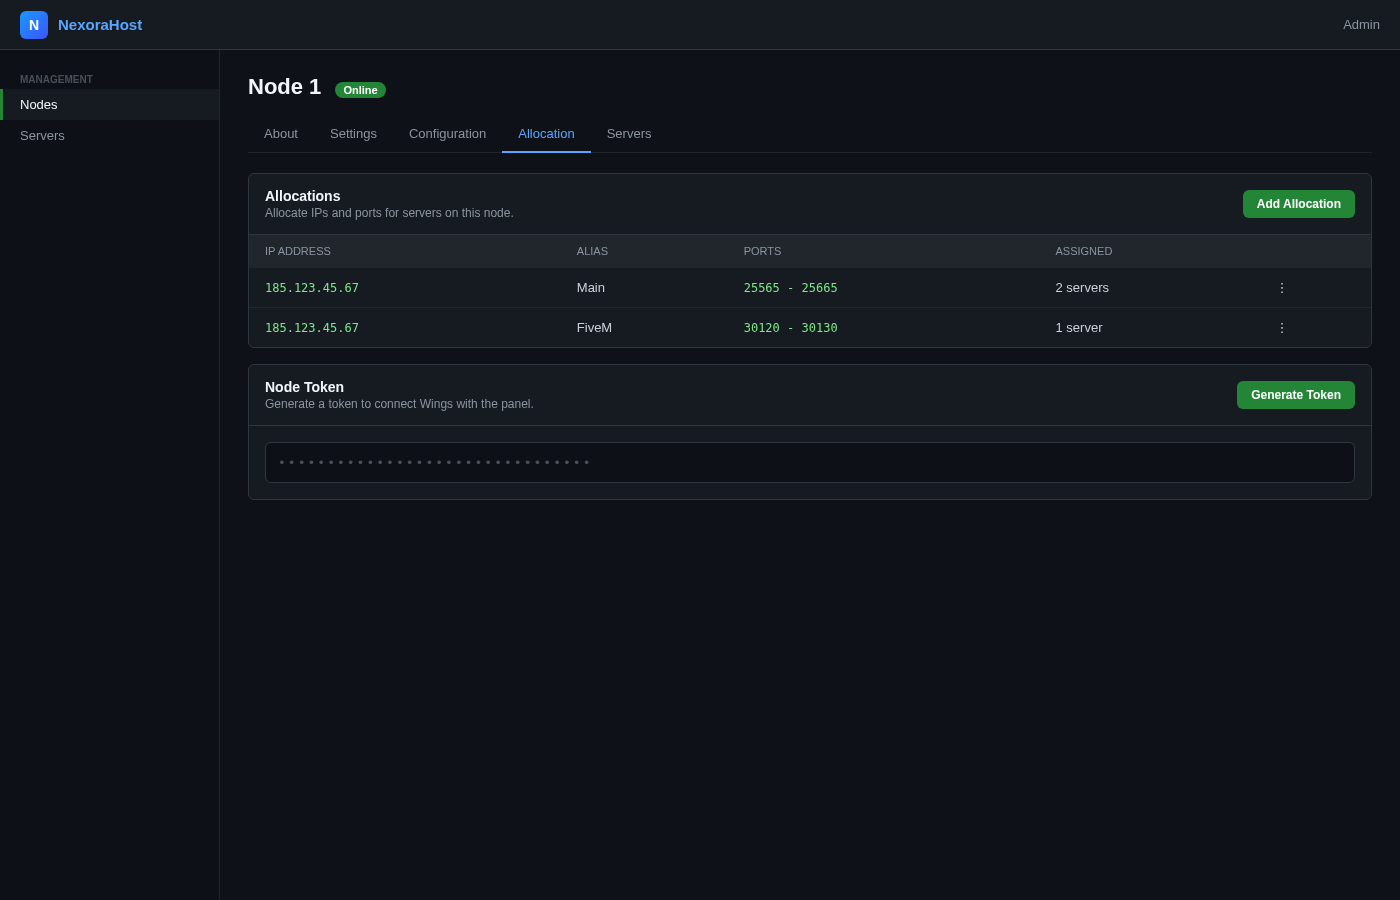
Allocations are IP addresses and ports that your game servers use:
- Click on your created node
- Go to the "Allocations" tab
- Enter your server IP and a port range (e.g. 25565-25665 for Minecraft)
- Click "Submit"
Step 8: Connect Wings with the panel
- Click on the "Configuration" tab in your node
- Click "Generate Token"
- Copy the displayed command and run it in your SSH console
- Start Wings with:
sudo systemctl enable --now wings
Switch back to the panel. The node should now be displayed as online (green heart).
Step 9: Create your first game server
- Click "Servers" on the left
- Click "Create New"
- Select your node
- Choose a game (e.g. Minecraft) and configure memory, CPU and ports
- Click "Create Server"
Your server is created and can be started via the server management.
Common problems and solutions
nginx won't start: If the installation ends with an nginx error, edit the configuration:
nano /etc/nginx/sites-enabled/pterodactyl.confReplace fastcgi_pass unix:/run/php/phpX.X-fpm.sock; with:
fastcgi_pass 127.0.0.1:9000;Then restart nginx: systemctl restart nginx
Node stays offline: Check if Wings is running:
sudo systemctl status wingsIf not, start Wings in debug mode:
sudo wings --debugError messages help find the cause.
"Pool overlaps" error: Docker networks are overlapping. Edit the Wings configuration:
nano /etc/pterodactyl/config.ymlChange the subnet under docker.network.interfaces.v4.subnet to a free range, e.g. 172.19.0.0/24 instead of 172.18.0.0/16.
Useful commands
# List all users
php artisan p:user:list

# Create a new admin user
php artisan p:user:make

# Delete a user
php artisan p:user:delete
These commands must be run in the panel directory /var/www/pterodactyl.
Quick checklist
- Ubuntu 22.04 or 24.04 server with root access
- Run installation script:
bash <(curl -s https://pterodactyl-installer.se) - Select option 2 (Panel + Wings)
- Answer all installation questions
- Log in in the browser
- Create location and node
- Set up allocations for ports
- Generate Wings token and connect
- Create first game server
Detailed guides on eggs, server configuration and troubleshooting can be found in the articles in the left navigation.
Related guides
Frequently asked questions (FAQ)
What server requirements do I need for Pterodactyl?
Can I install Pterodactyl on a NexoraHost VPS?
My node stays offline – what to do?
Panel and Wings on the same server?
NexoraHost
Server for your panel
VPS/root server for Pterodactyl – enough RAM for multiple game servers.
nexorahost.com · Maincubes FRA01 · 1 Tbit/s DDoS · 99,9 % Uptime